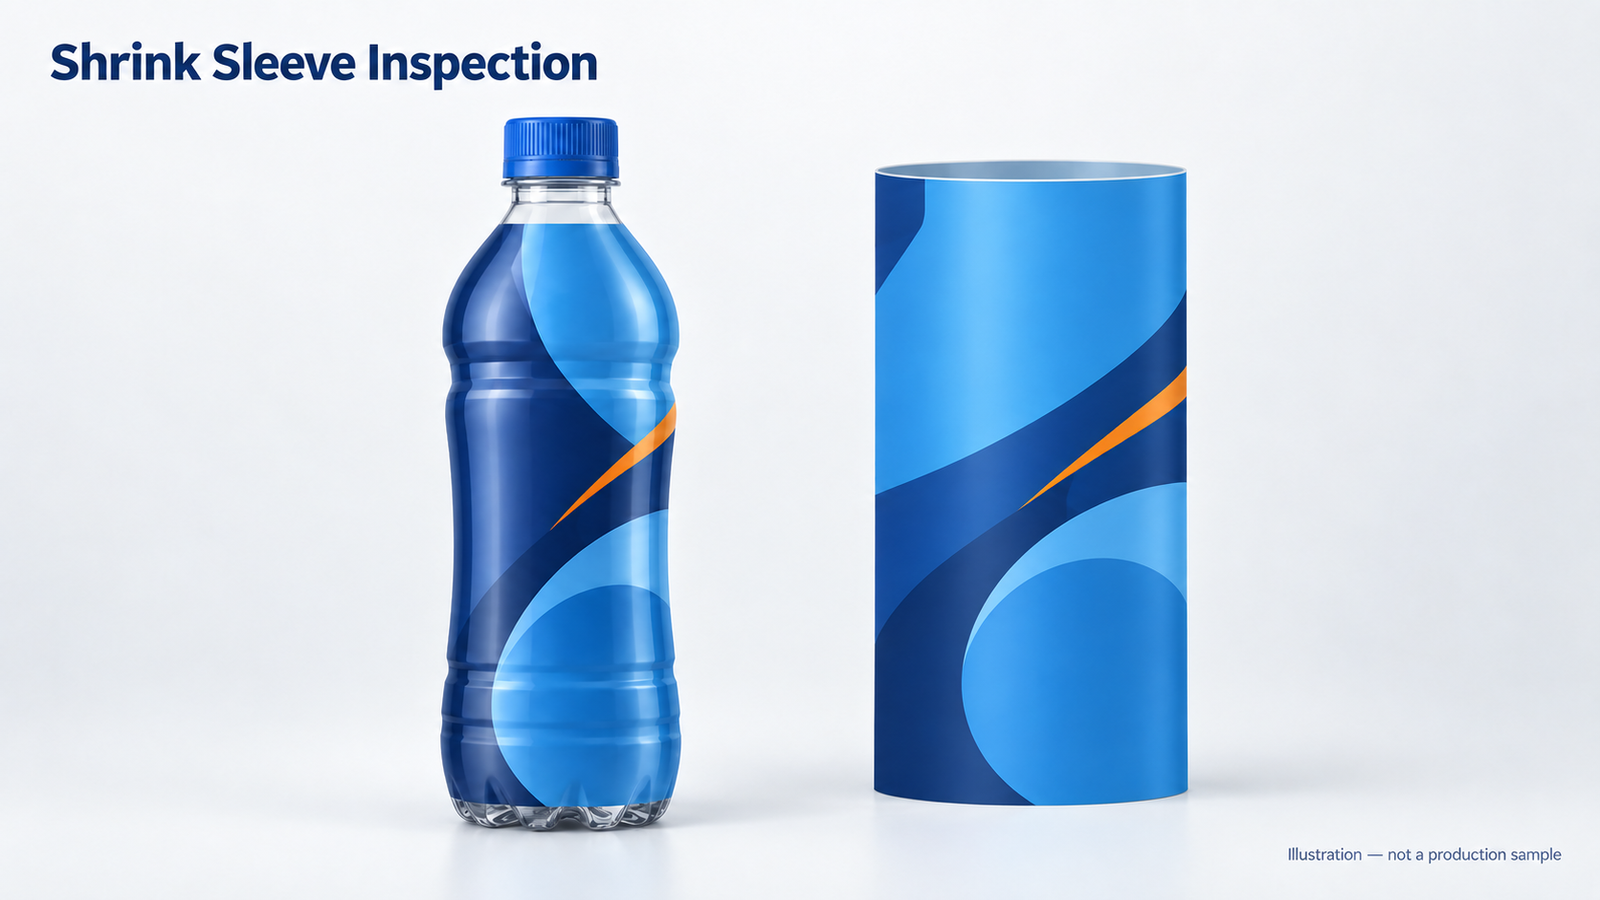
A wrinkle, an uneven edge or a misplaced graphic does not tell you the cause on its own. Before changing the sleeve specification or application settings, document where the problem occurs and whether it appears before or after shrinking.
This checklist helps packaging buyers prepare a useful technical review. It is not a machine-setting guide: operating limits and adjustments should be confirmed with the film supplier and equipment manufacturer.
Start with the Position of the Defect
Keep both an affected sample and an acceptable sample from the same trial, if available. Photograph the complete container, then take close-ups of the problem area. Note whether it is near the shoulder, neck, seam, base or another change in shape.
Record whether every bottle is affected or only some bottles. Include the sleeve batch, container batch and the stage at which the issue first becomes visible. This gives the people reviewing the project more useful evidence than a single cropped photograph.
Wrinkles: Review the Sleeve, Container and Shrinking Process Together
Material compatibility, heat exposure and application setup are relevant checks when a sleeve does not shrink evenly. Review the actual film specification, container geometry and trial conditions together rather than assuming that printing alone caused the defect. Equipment guidance identifies temperature consistency and process adjustments as important troubleshooting considerations. Technical reference: Pack Leader USA.
Do not automatically increase the temperature. Ask the responsible technician to review the equipment instructions and material limits, and record any agreed trial changes. There is no universal setting supplied by this article.
Misalignment: Compare Before and After Shrinking
Photograph the sleeve immediately after placement and again after shrinking. Mark the intended top and bottom positions and the required direction of the main graphic. This separates a sleeve that was initially positioned incorrectly from one whose final appearance changed during shrinking.
Ask the application team to review the setup and consistency of the containers. Do not assume that a sleeve working on one bottle will produce the same result on another bottle of equal capacity. Pack Leader USA lists application settings and container inconsistencies among potential contributors to misalignment.
Bubbles, Gaps and Damage: Practical Checks Before Another Trial
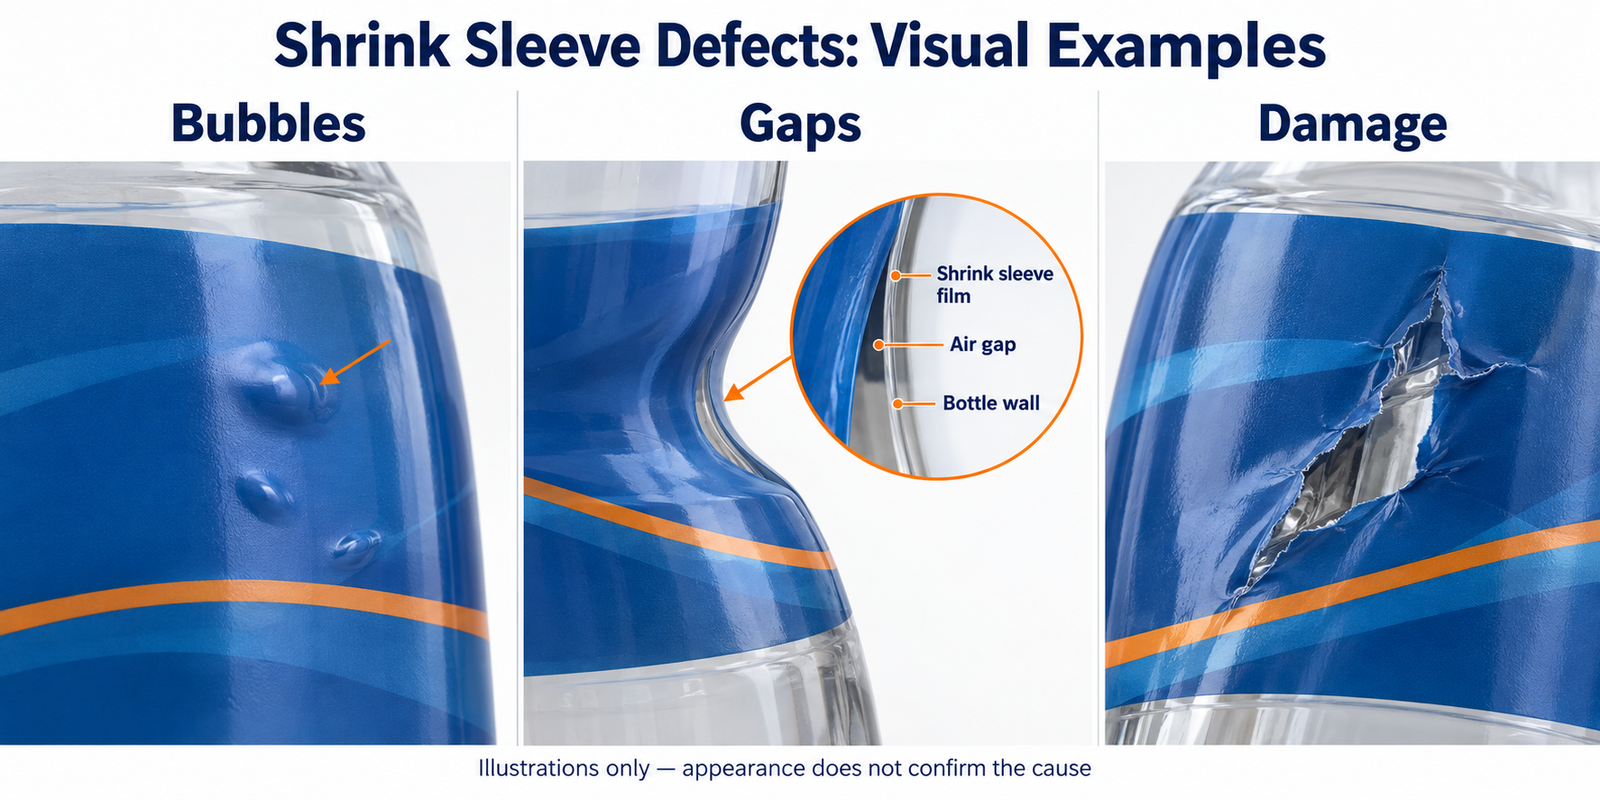
Bubbles or Localized Bulges
Check the container surface for moisture or foreign material and confirm the sleeve dimensions against the actual bottle. Ask the application team to review how air can escape and whether heat exposure is even. These are investigation points, not a diagnosis from the photograph. Confirm any proposed correction with a small controlled trial before restarting bulk production.
Gaps Between the Sleeve and the Bottle
Compare the bottle’s recessed areas and shoulder geometry with the sleeve size. Ask the film supplier and application team whether the selected film and process suit that shape. A sleeve may bridge a deep recess rather than follow every contour; do not promise complete contact at every concave feature. Use a physical trial to agree on acceptable fit and coverage.
Torn Film, Distortion or Suspected Heat Damage
Identify whether the damage first appears before application, during handling or after shrinking. Check for rubbing, sharp contact points and damage around the seam. If distortion appears after heating, have the responsible technician review the process against the film and container limits. A tear alone is not proof of excessive heat. Stop and obtain a technical review if the container itself changes shape unexpectedly.
Change One Variable at a Time
Record the starting conditions, change one agreed variable and compare the result with the retained sample. Keep trial quantities small and approve the physical result before bulk production. Specific settings depend on the film, bottle and equipment; there is no universal temperature or speed recommendation in this article.
Describe what you can observe rather than assigning a cause. Is the film standing away from the bottle, creased, torn or distorted? Is the container itself visibly changed? Supply photographs from several angles and state whether the bottle was empty or filled during the trial.
Do not approve an affected sample for bulk production merely because the printed colours look correct. Escalate unexpected container changes to the filling and equipment teams before continuing the trial.
Approve a Physical Sample, Not Just the Artwork
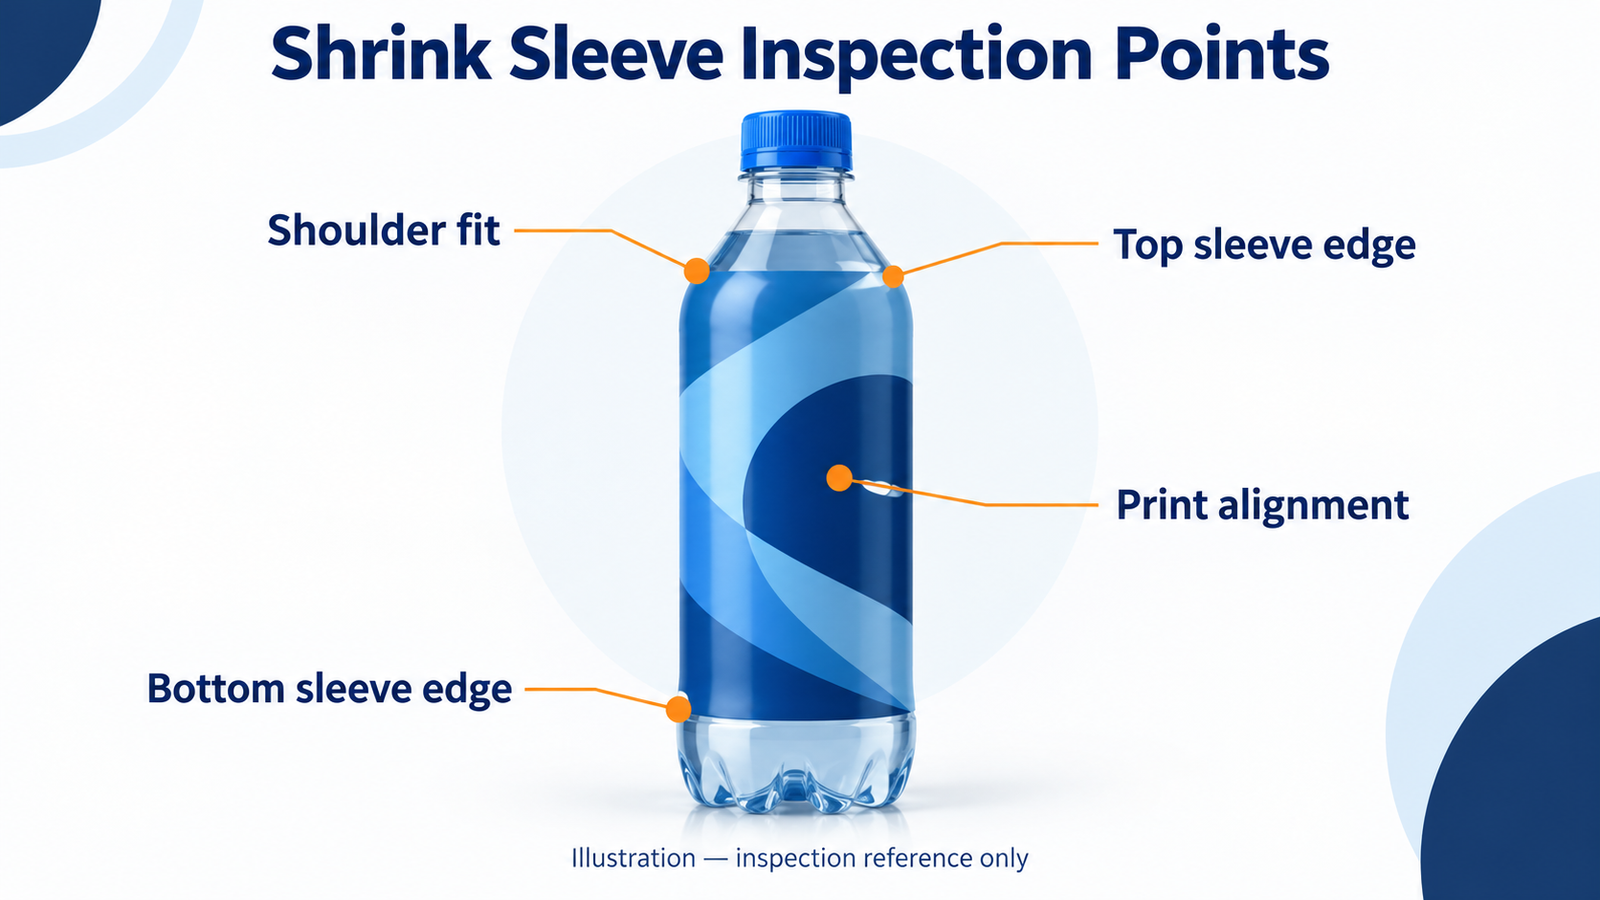
Printing, converting, application and shrinking contribute to the finished result; reviewing only the artwork does not verify the completed pack. Accraply highlights the need to align converting and application processes. Technical reference: Accraply.
Before approval, agree on a project-specific checklist covering:
- sleeve coverage and edge positions;
- seam location and graphic orientation;
- legibility of text and barcode verification on the finished pack;
- appearance around shoulders, necks and bases;
- acceptable appearance criteria and the inspection method.
Record the approved sample and the agreed criteria. Do not replace them with an undefined promise of “perfect” or “zero-defect” production.
Send These Details for a Sleeve Review
Send Haosen Packaging your container photographs and drawing, sleeve dimensions, known material specification, artwork, quantity by design and delivery destination. For an application issue, also include before-and-after photographs, empty or filled bottle status, and the application team’s trial information.
We can review your printed sleeve requirements and identify information still needed for quotation. Any additional service must be confirmed separately; supplying printed sleeves does not automatically include applying them to bottles.
Explore our shrink sleeve labels or send your project details.